Contact page
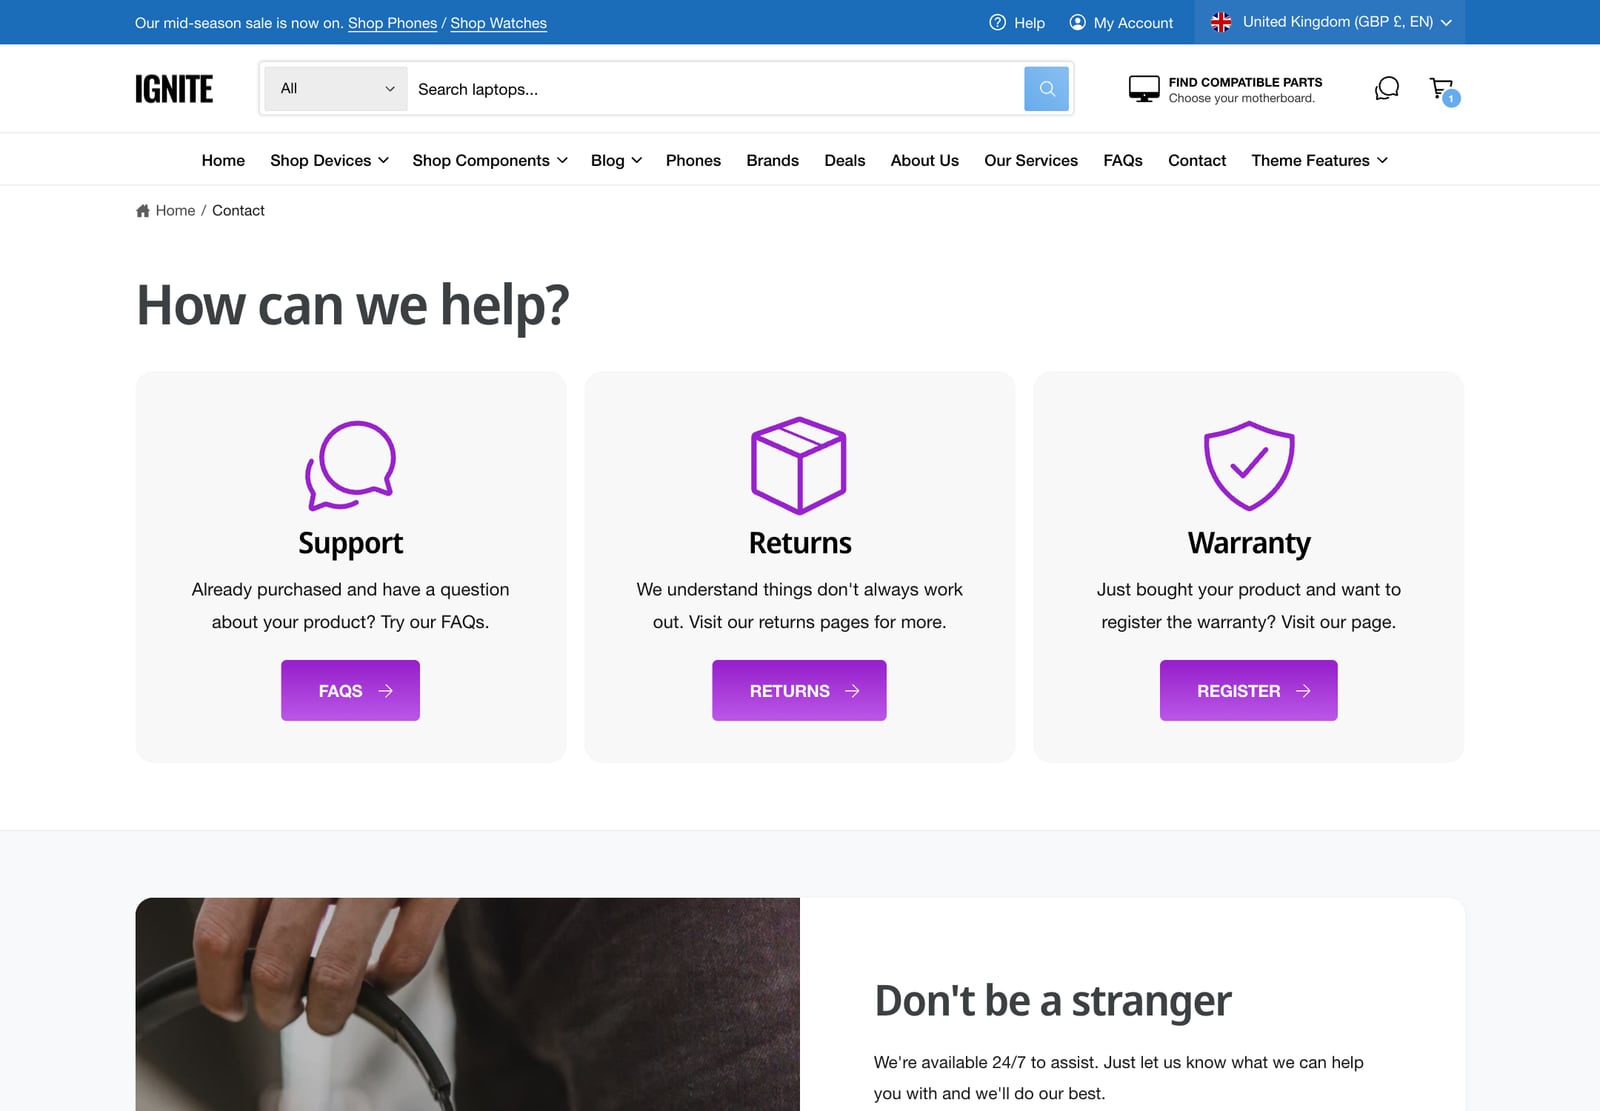
The contact page is often where a sale is saved. Ignite’s contact template points customers to quick answers first, then gives them a form you can shape to the questions you actually get.
Set up the contact page
- In your Shopify admin, go to Online Store > Pages and open your contact page, or add one.
- Choose the contact template and click Save.
- In the theme editor, open Pages > contact to edit it.
The template comes with the page title and text, a row of help cards, the Contact form section and more sections you can keep or remove. The Contact page section shows the page’s own title and content, or your own heading and text with Use custom page header and Use custom page text.
Build the contact form
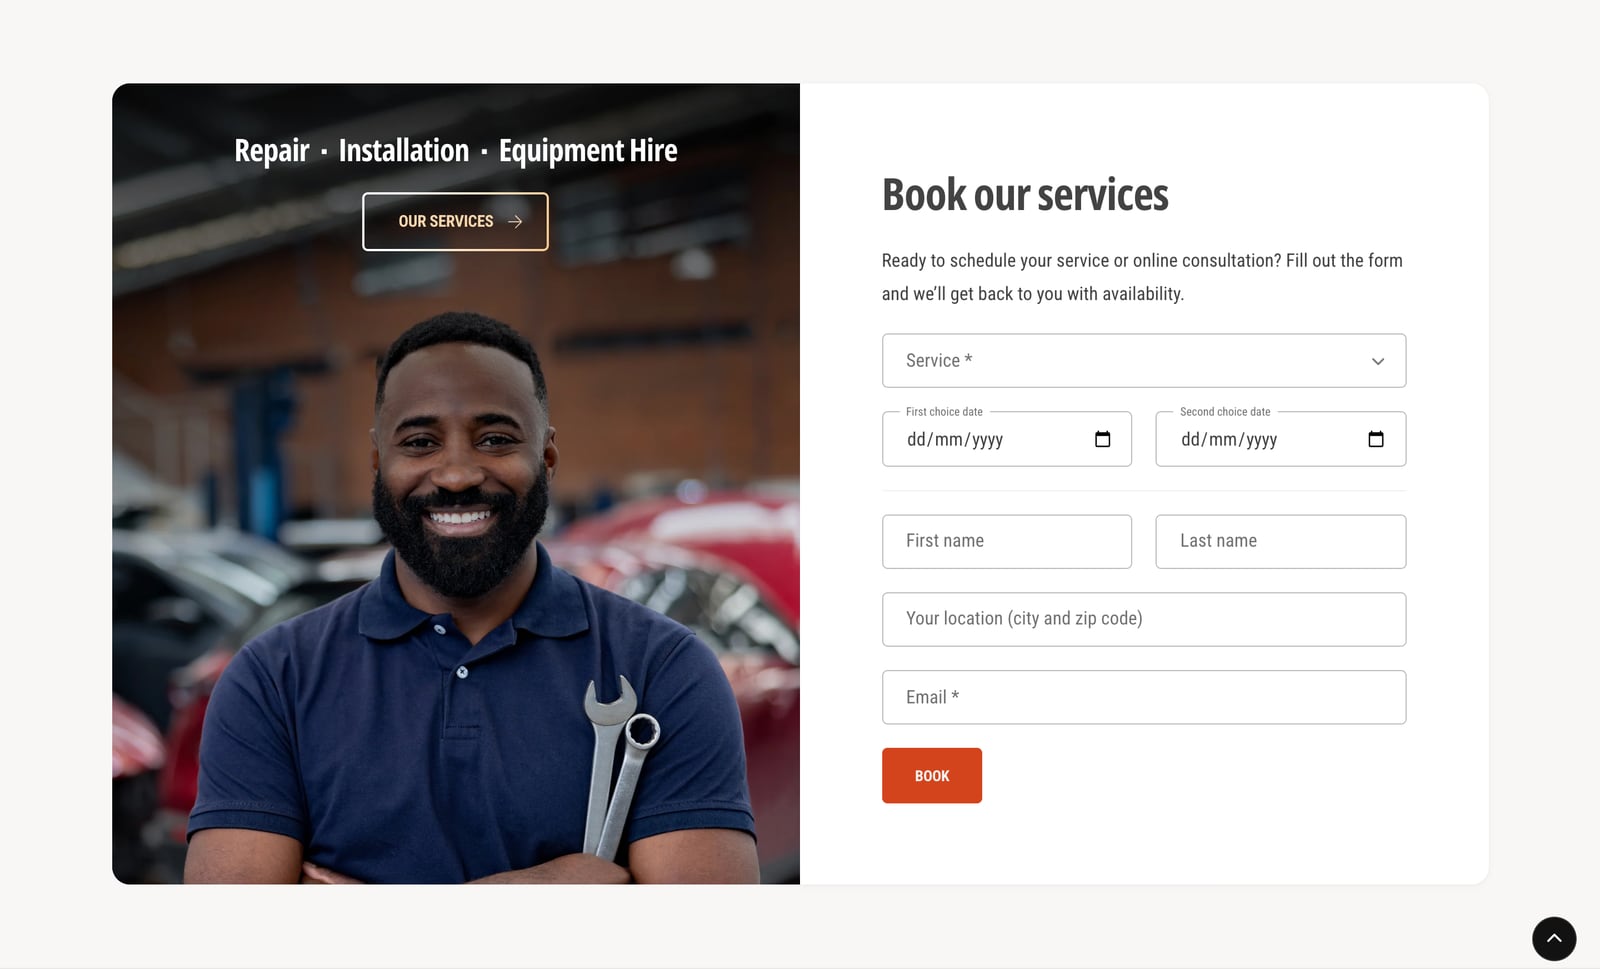
Each field in the Contact form section is a block, so you can add, remove and reorder them. The section works on any page, not just this one.
| Block | Use it for |
|---|---|
| Name, Email, Phone, URL | The basics. The Email field is required. |
| Long text field | The message itself. |
| Custom text field | Any one-line answer, such as an order number. |
| Dropdown field | A choice from a list, such as the reason for contacting you. One option per line. |
| Date field | A date, with an optional time. You can block certain days, such as Sundays, with your own error message. |
| Checkbox | A yes or no, such as agreeing to terms, with a custom error message if it’s mandatory. |
| Hidden field | Information customers don’t see, such as which page the form was on. It’s included in the email you receive. |
- Each field has a Label, which must be unique, an optional Tip, and Mandatory.
- Half width on desktop puts two fields side by side, such as first and last name.
- Heading, Text and Spacer blocks add instructions between fields.
After customers submit the form
- After submitting the form: show a message on the same page, or go to a page of your choice, such as a thank-you page.
- Show standard success message: Ignite’s built-in thank-you message.
- For your own message, add a Heading or Text block and set Show this block to After they submit the form. Blocks can also show only before submitting, such as instructions.
- Preview successful contact form submission shows the result in the editor, so you can style it.
Form layout
Add an Image beside the form, and choose whether it sits on the left or right, how wide it is, and whether the heading sits over it. Content/image layout sets whether the form and image are separate, joined or overlapping. Submit button text changes the button’s label.
Common questions
How do I add fields to the Shopify contact form in Ignite?
Open the Contact form section and click Add block. You can add name, email, phone, URL, date, long text, custom text, dropdown, checkbox and hidden fields.
Where do contact form messages go?
Shopify emails them to your store’s contact email address.
Can the contact form go to a thank-you page?
Yes. Set After submitting the form to Go to page and choose the page.